- Installation
- Configuration
- Set custom days for different products
- The order view
- The User view
- The Admin email
IMPORTANT: If you didn’t purchase this plugin from codecanyon.net, then you are using an illegal version of it. You can purchase the original one here.
Installation – top
Extract woocommerce-warranties-and-returns.zip and upload it to your WordPress plugin directory (usually /wp-content/plugins ), or upload the zip file directly from the WordPress plugins page. Once completed, visit your plugins page again and activate "WooCommerce Warranties and Returns"
Configuration – top
In the WordPress admin panel, select Settings → WooCommerce Warranties and Returns.
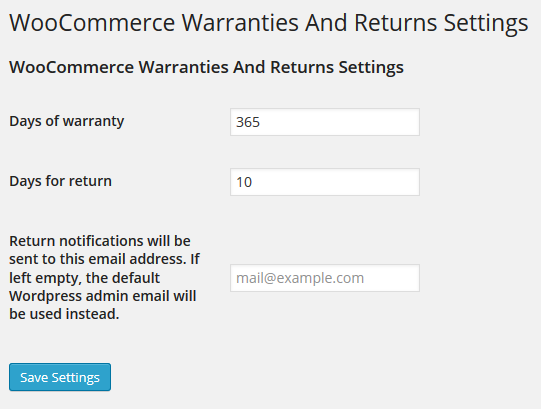
Here you can choose the default number of days for the warranty and return of your products.
The last field is the email used to notify the admin that a user has asked for a return.
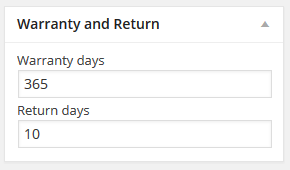
Set custom days for different products – top
For each product can be specified a custom amount of days for Warranty and Return. Only for these products they will override the default amount in the Settings page.
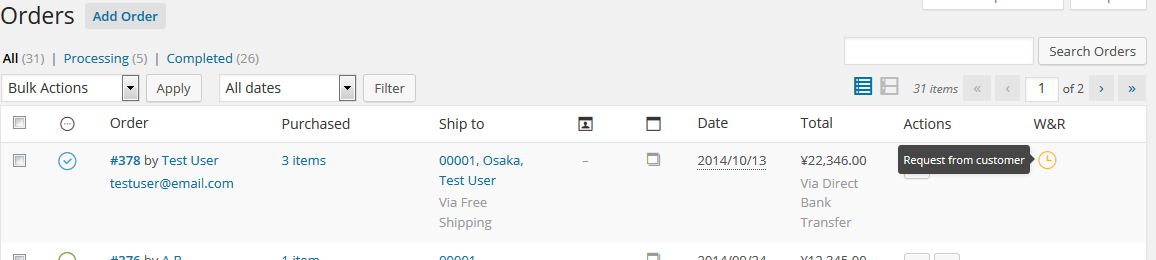
The order view – top
In the WooCommerce Orders list page the shop administrator can easily see if a customer has made a request for return.
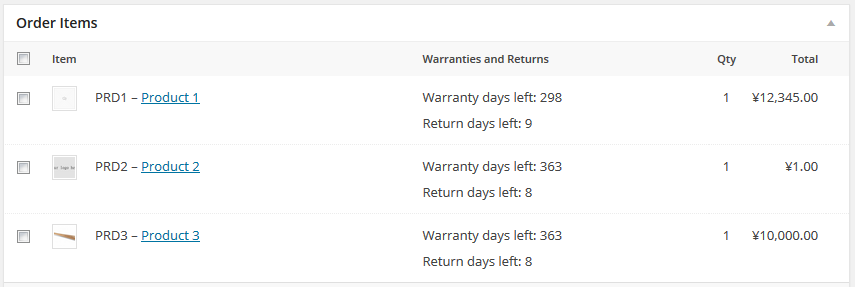
In the WooCommerce Order details page the shop administrator can view how many days remains on the expiry of the warranty and return.
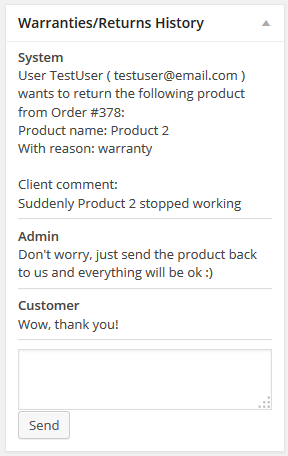
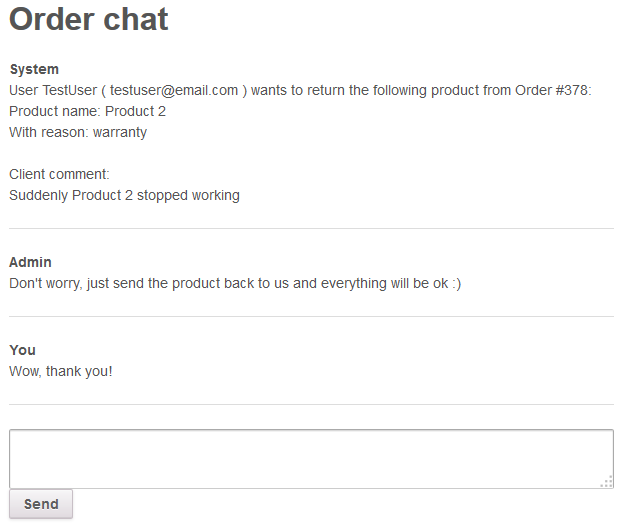
If a customer has made a request for return, this will be displayed in a box called “Warranties/Returns History” in which the shop administrator can start a chat with the unsatisfied customer.
Just write the reply for the customer and press the Send button to reply. An email will be sent to the customer along with the text replied.
The User view – top
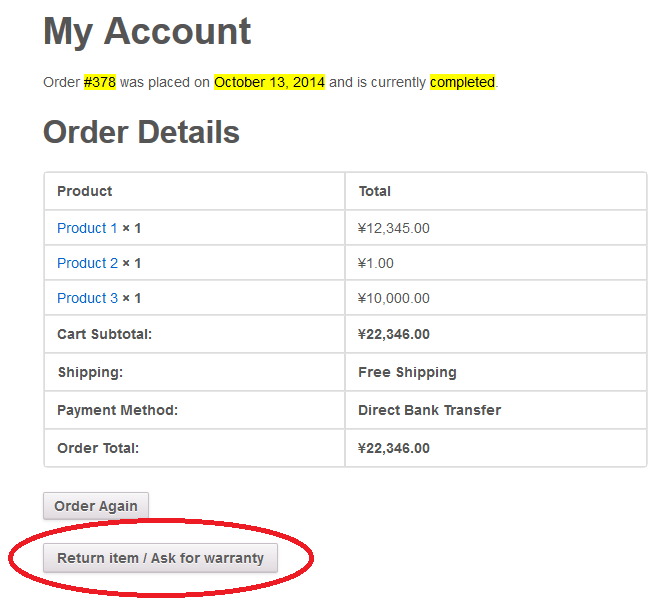
By opening his order summary, a regular WooCommerce customer will now see the new button “Return item / Ask for warranty“.
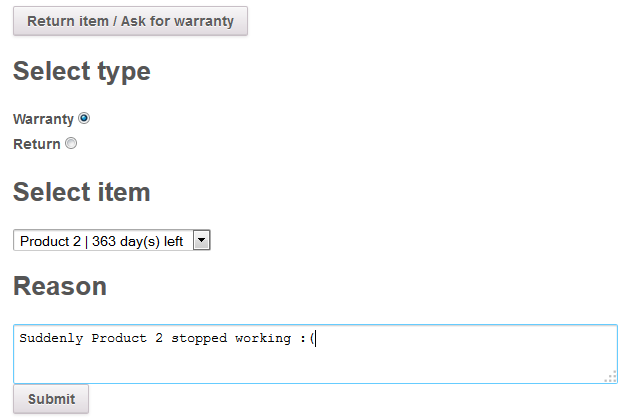
By clicking that button, the order will show a new section. In this section the customer can choose if return an item or ask for the warranty. The drop-down menu will be automatically filled with the items that the user can return. Once selected the item, the customer can insert a the reason for the return.
To send the request to the admin, just press the button “Submit“
After the first message is sent to the administrator, a chat history will be available under the button Return item / Ask for warranty. Here a customer can respond if necessary to provide more details on its request.
When a new message is sent, the same message will be sent via email to the shop administrator too.
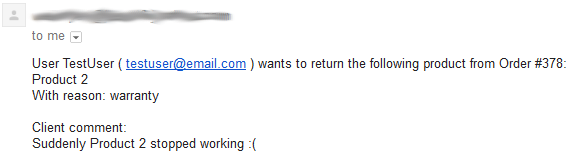
The Admin email – top
When a customer submit a warranty request or a return for an item, an email with all the details is sent to the email address specified into the Settings page. If left empty, the default WordPress admin email will be used instead.